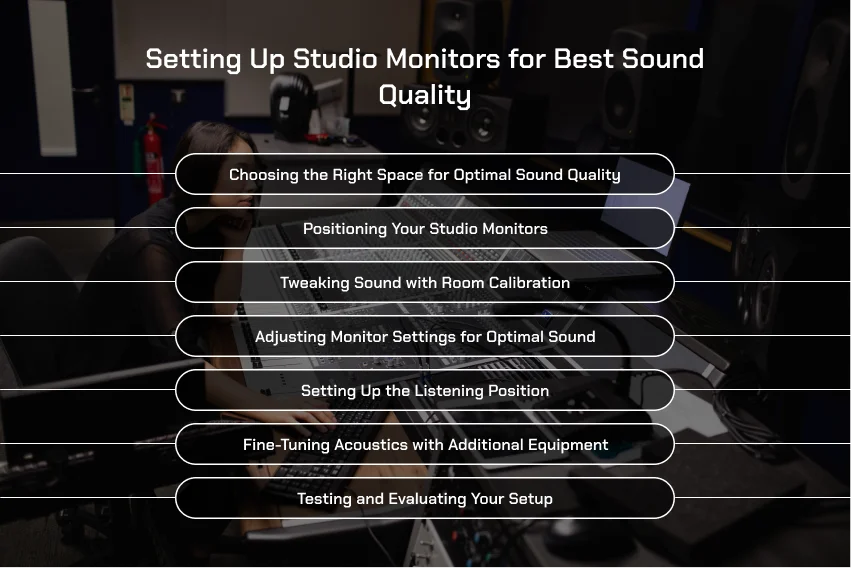
When it comes to creating high-quality audio, a well-set-up pair of studio monitors is essential. Whether you’re producing music, recording podcasts, or enjoying a home studio setup, proper monitor placement and room preparation can make a significant difference in sound clarity and accuracy.
This blog will guide you through why setup matters, the benefits you’ll gain from proper placement, and how different types of users—like music producers, podcasters, and home studio enthusiasts—can achieve optimal sound quality. By following these best practices, you’ll be on your way to hearing your audio as it’s meant to be heard, free from distortions and muddiness, and ready for precise mixing and mastering decisions.
Read More About Top Features of Custom Beat Makers for Unique Sounds
Importance of Proper Setup for Accurate Sound

Setting up your studio monitors correctly is key to achieving true-to-source sound quality. Proper placement and room optimization allow you to hear your audio exactly as it is, minimizing distortions and avoiding colorations that can come from improper placement or poor room acoustics.
Benefits of a Proper Studio Monitor Setup
- Clarity: Experience clean, detailed sound without muddiness, so every nuance of your audio stands out.
- Balance: Enjoy an even frequency response across the entire sound spectrum, essential for precise adjustments and accurate playback.
- Precision: Achieve accurate imaging and soundstage, crucial for making detailed mixing and mastering decisions.
Who Benefits from a Proper Setup?
- Music Producers: For critical listening and making nuanced adjustments during mixing.
- Podcasters: Ensures a consistent, high-quality sound that enhances professional production value.
- Home Studio Owners: Ideal for accurate audio playback in music, movies, and games, creating a more immersive experience.
Optimizing your studio monitor setup can dramatically improve sound quality, allowing you to produce with greater confidence and accuracy, whether you’re mixing tracks, recording vocals, or simply enjoying high-quality audio at home.
| Your next hit starts here! Purchase an exclusive beat from JBZ Beats and get access to premium, one-of-a-kind tracks that will set you apart from the crowd. Buy Beats Now |
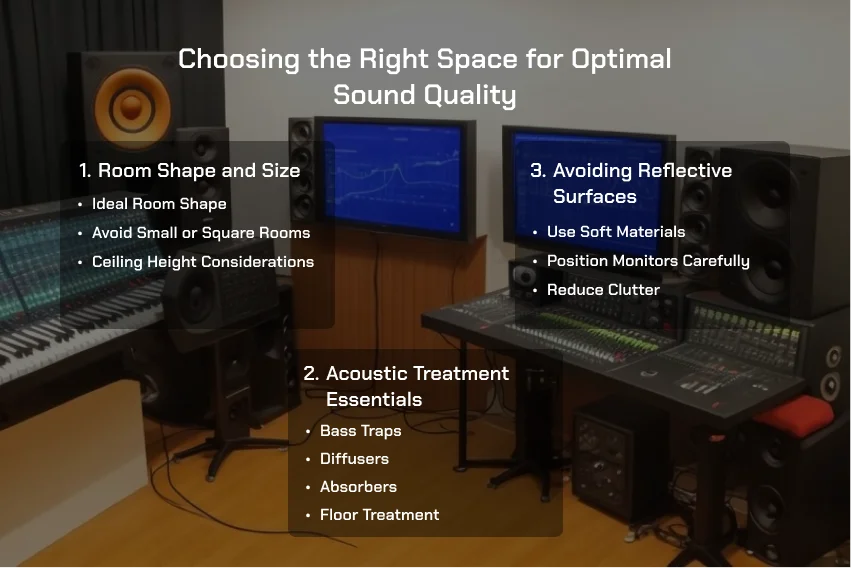
Choosing the Right Space for Optimal Sound Quality

Selecting the right room is a fundamental step in achieving clear, balanced sound from your studio monitors. The size, shape, and acoustics of your space can greatly influence the accuracy of what you hear, making it essential to start with a room that supports good sound characteristics.
Room Shape and Size
- Ideal Room Shape: A rectangular room is generally best for audio setups, as it helps prevent excessive sound reflections and standing waves. Aim for a length-to-width ratio of approximately 1.6:1, which optimizes sound distribution and minimizes echo.
- Avoid Small or Square Rooms: Small, square rooms tend to amplify specific frequencies, leading to poor sound quality and uneven bass response. These spaces can create challenging acoustic issues that require more extensive treatment.
- Ceiling Height Considerations: Higher ceilings can improve sound quality by providing greater vertical space for sound to dissipate. Lower ceilings, on the other hand, can cause reflections and bass build-up.
Acoustic Treatment Essentials
Applying acoustic treatments can greatly improve sound clarity by managing how sound waves interact with surfaces. Effective treatment helps to reduce echo, control bass, and balance overall sound quality.
- Bass Traps: Place bass traps in the corners of your room to absorb low-frequency energy, which helps to reduce bass buildup and avoid a “boomy” sound.
- Diffusers: Diffusers scatter sound waves in different directions, reducing harsh reflections without over-dampening the room. This creates a more natural, spacious sound field.
- Absorbers: Absorption panels placed on walls and ceilings reduce mid-range and high-frequency reflections. This can be particularly beneficial behind the monitors and on the wall opposite your listening position.
- Floor Treatment: Rugs or carpets placed on hard floors can reduce floor reflections that add to muddiness. A thick rug beneath your listening area can help manage lower reflections and contribute to a cleaner sound.
Read More About How to Choose Between Different Types of Studio Monitors
Avoiding Reflective Surfaces
Reflections from hard surfaces can interfere with your monitor sound, causing distortions and blurring audio detail. Minimizing reflective surfaces helps to control unwanted sound bounce and improves clarity.
- Use Soft Materials: Incorporate soft furnishings like curtains, fabric-covered panels, or foam to absorb reflections. Wall-mounted acoustic panels and furniture can further dampen unwanted reverberation.
- Position Monitors Carefully: Avoid placing monitors too close to windows, glass, or mirrors, as these surfaces are highly reflective. If unavoidable, consider covering windows with thick curtains or blinds.
- Reduce Clutter: Open shelves with books, plants, or other uneven surfaces can actually help scatter sound waves, while smooth, flat surfaces (such as bare walls) create reflections. A blend of absorptive and diffusive elements around the room can strike a good balance.
By choosing an appropriately sized and shaped room, applying targeted acoustic treatments, and avoiding overly reflective surfaces, you’ll be setting up a controlled and accurate listening environment. These steps are essential for translating your mixes accurately, ensuring that your studio monitors can deliver true-to-source sound.
Positioning Your Studio Monitors
Speaker Placement Basics
- Distance from Walls: Place your monitors at least 1-2 feet away from walls to avoid boundary effects that can distort the low-frequency response.
- Avoid Corner Placement: Avoid placing monitors in corners, as this can lead to excessive bass buildup and inaccurate sound.
Angle and Height Considerations
- Ear-Level Alignment: Ensure that the tweeters of your monitors are at ear level when you’re seated.
- Monitor Angle: Angle your monitors towards your listening position to create a focused soundstage.
Setting the Equilateral Triangle
- Equal Spacing: Position your monitors and listening position to form an equilateral triangle. This ensures equal distances between each point.
- Sweet Spot: The center of the equilateral triangle is the ideal listening position, where you’ll experience the most balanced and accurate sound.
By following these guidelines, you can optimize the placement of your studio monitors and create a precise listening environment.
| Ready to take your music to the next level? Unlock exclusive beats from JBZ Beats and bring your unique sound to life with top-tier production you won’t find anywhere else! Check JBZ Beats Out Now |
Tweaking Sound with Room Calibration
Using Room Correction Software or Tools
Room correction software and hardware tools can help you analyze your room’s acoustics and automatically adjust your monitor’s frequency response to compensate for any deficiencies. Popular options include Sonarworks and Room Acoustic Correction (ARC).
Manual Room Calibration Techniques
If you prefer a more hands-on approach, you can manually adjust your monitor settings to compensate for room acoustics. This may involve:
- Adjusting Monitor Settings: Use your monitor’s built-in EQ and filters to adjust the low-frequency and high-frequency response.
- Room Size Considerations: Tailor your adjustments based on the size of your room. Smaller rooms may require more bass reduction, while larger rooms may benefit from additional bass boost.
By carefully calibrating your monitors, you can achieve a more accurate and balanced sound, regardless of your room’s acoustics.
Adjusting Monitor Settings for Optimal Sound
Volume Level and Gain Adjustment
- Matching Volume Levels: Ensure that both monitors are set to the same volume level to avoid imbalances.
- Gain Adjustment: Use the gain control on your audio interface or mixer to adjust the overall output level.
Using Built-In EQ and Filters
- Low-Frequency and High-Frequency Cuts: Adjust the low-frequency and high-frequency cut-off points to tailor the sound to your specific needs and room acoustics.
Checking Phase Alignment
- Phase Issues: Incorrect phase alignment can lead to a diminished soundstage and reduced clarity.
- Phase Checking: Use software or pink noise tests to identify and correct any phase issues.
By fine-tuning your monitor settings, you can optimize their performance and achieve the best possible sound quality.
Read More About Maximizing Your Budget: Best Studio Monitors Under 1000 Dollars
Setting Up the Listening Position
Creating the Ideal Listening Zone
- Chair and Desk Placement: Position your chair and desk so that you are seated directly in the center of the equilateral triangle, facing the monitors.
- Correct Height: Ensure that your ears are level with the height of the tweeters on your monitors.
- Avoid Reflection Points: Place your chair and desk away from walls and corners to minimize reflections that can distort the soundstage.
By creating an ideal listening zone, you can ensure that you experience the most accurate and immersive sound reproduction.
Correcting Chair Height and Distance
- Adjusting Chair Height: Make sure that your chair is positioned at the correct height so that your ears are level with the tweeters of your monitors.
- Maintaining Distance: Maintain a comfortable distance from your monitors, typically around 3-6 feet. This will allow you to hear the full spectrum of sound without any distortion.
Avoiding Reflection Points at Listening Position
- Use Absorbing Material: Place foam or other absorptive material behind your listening position to reduce reflections and improve sound clarity.
By carefully adjusting your listening position, you can minimize the impact of room reflections and create a more focused and accurate listening experience.
Fine-Tuning Acoustics with Additional Equipment
Using Isolation Pads or Monitor Stands
- Isolation Pads: Placing your monitors on isolation pads can help to reduce vibrations that can be transmitted from your desk or other surfaces, improving sound clarity and reducing low-frequency distortion.
- Monitor Stands: Using monitor stands allows you to adjust the height and angle of your monitors, further optimizing their placement and sound performance.
Adding a Subwoofer (Optional)
- When to Use a Subwoofer: If your monitors lack sufficient low-frequency extension, adding a subwoofer can help to fill in the bass frequencies.
- Subwoofer Placement: Place your subwoofer in a corner of your room to maximize its output. Experiment with different placements to find the best position for your specific room.
By using additional equipment like isolation pads, monitor stands, and subwoofers, you can further refine your studio setup and achieve even better sound quality.
| Don’t miss out on the perfect beat for your next project. Shop JBZ Beats now and secure your exclusive track today—available for a limited time only! Buy Exclusive Cheap Beats Now |
Testing and Evaluating Your Setup
Testing with Reference Tracks
Choose Quality Tracks: Select a variety of reference tracks that feature a wide range of frequencies and musical genres.
Assess Sound Quality: Listen to your reference tracks and evaluate the clarity, balance, and overall soundstage of your setup.
Using SPL Meters for Consistency
Measure Sound Levels: Use an SPL meter to measure the sound pressure level of each monitor.
Adjust for Consistency: Adjust the volume levels of your monitors to ensure that they are producing the same sound pressure level.
Adjusting After Testing
Make Final Tweaks: After evaluating your setup with reference tracks, make any necessary adjustments to your monitor settings, room treatment, or listening position.
By regularly testing and evaluating your setup, you can identify and address any issues that may arise, ensuring that your studio always sounds its best.
Conclusion
In summary, setting up your studio monitors with care—choosing the right space, placing monitors properly, and fine-tuning acoustics—ensures accurate sound and balanced mixes. This setup is essential for producers, podcasters, and home studio owners who aim for clarity and precision in audio.
For high-quality rap beats and more insights on the best studio monitors, check out JBZ Beats, your source for top beats on sale online.
FAQs
Why is a rectangular room better for audio setups than other shapes?
Rectangular rooms help control sound reflections more effectively than square rooms, reducing issues like standing waves and uneven bass response.
What should I do if I only have a small or square room for my setup?
In small or square rooms, adding more acoustic treatments, such as bass traps and absorbers, can help minimize reflection issues and improve sound clarity.
How can I tell if my room needs more acoustic treatment?
If you notice excessive echo, uneven bass, or difficulty hearing clear details, it’s a sign your room could benefit from additional acoustic treatment.
What is the best way to test if my studio monitor placement is accurate?
Use reference tracks and an SPL meter to check the sound balance and clarity. Listen for even sound across all frequencies and consistent sound pressure levels.
Is it necessary to use isolation pads or monitor stands?
While not strictly necessary, isolation pads and stands help reduce vibrations and improve sound clarity, making them valuable additions for more accurate sound.


